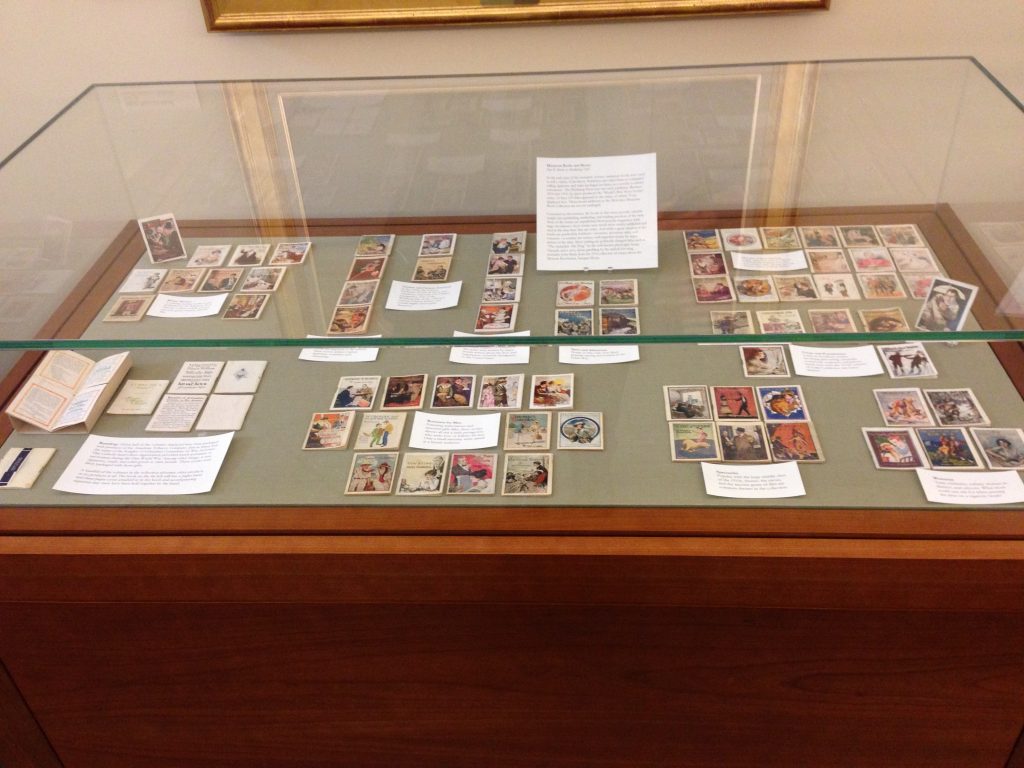
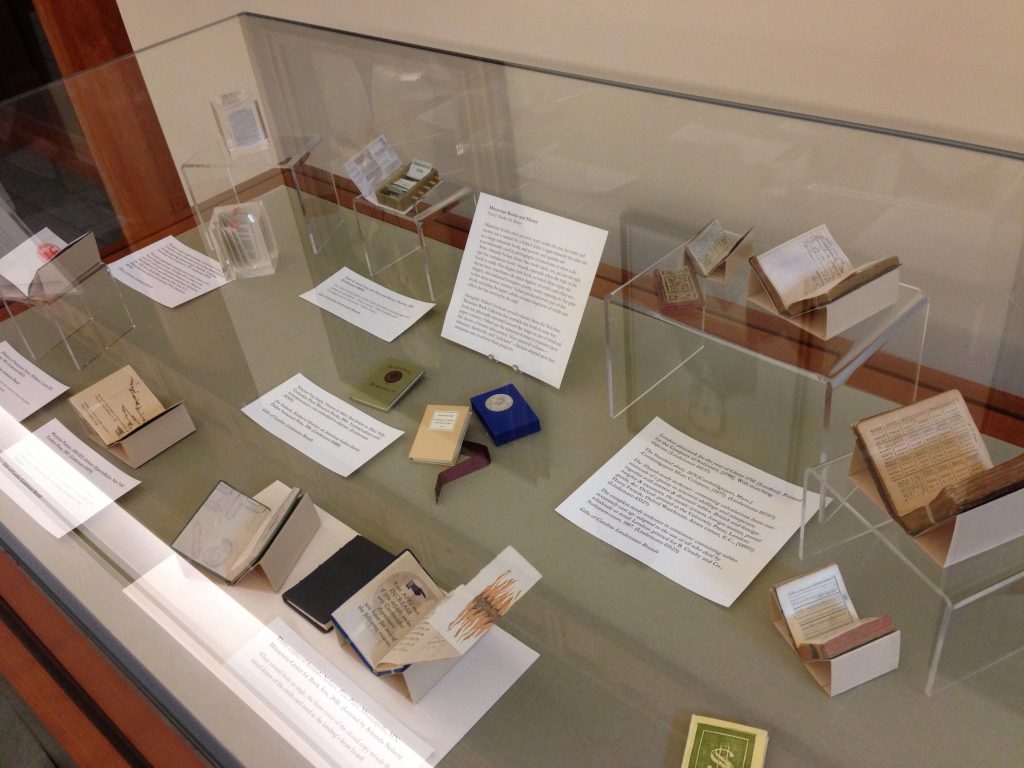
When you apply for a job as a Special Collections curator, the required skills do not include “arts and crafts.” But an ability to work with your hands comes in handy, so to speak, especially when it comes to putting on small exhibitions on short notice. One of my favorite parts of the job is learning new and unexpected skills that help me to share our collections–especially when it means I get to play around with paper.
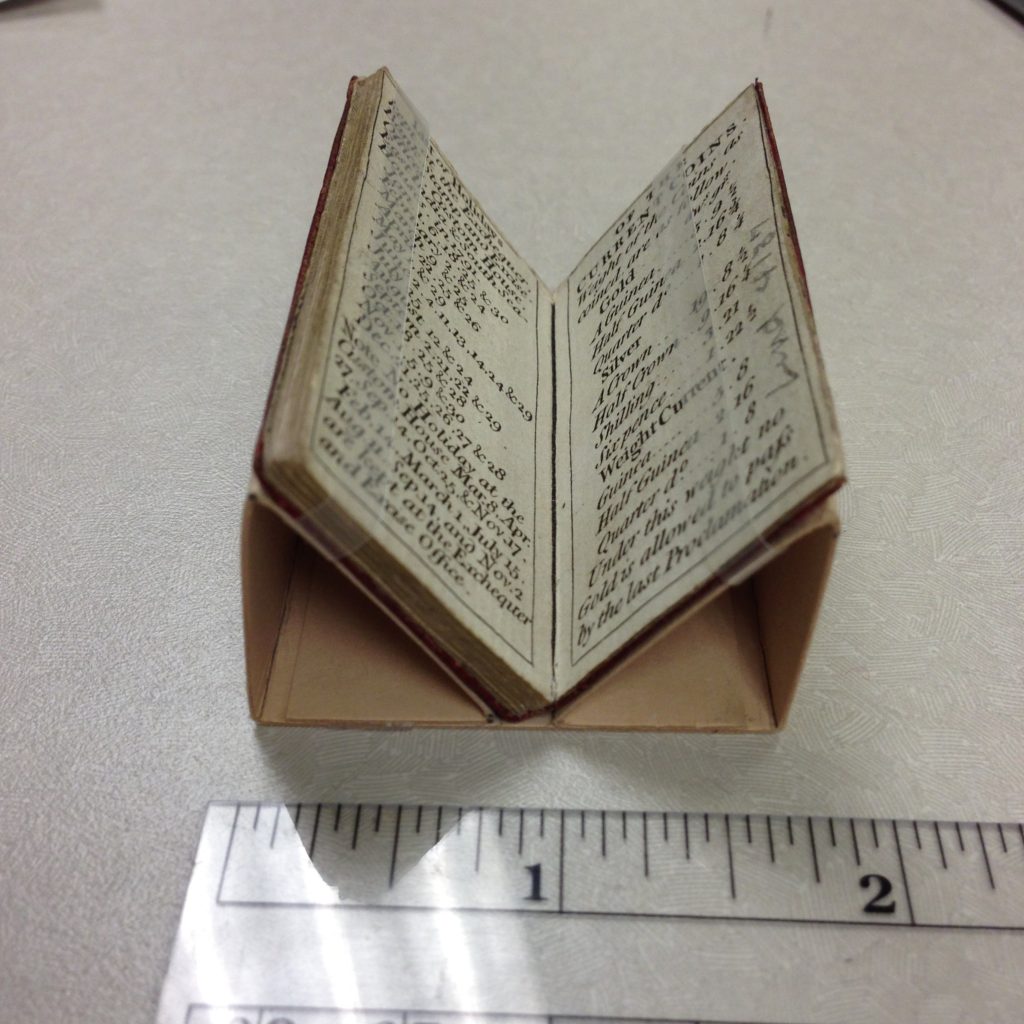
London Almanack for the Year of Christ 1791 ([London]: Printed for the Company of Stationers, [1790]. (Lindemann 04137, Photo by Molly Schwartzburg).
This week, I was thrilled to receive a quick and dirty lesson on how to make these simple but effective display cradles, courtesy of our book conservator, Eliza Gilligan. After some mumbled curses and false starts, I had soon produced half a dozen mounts that I believe would make her proud. If you’d like to display your own miniature books, take my lead and follow Eliza’s instructions, which are straightforward and allow you to leave your book safe on the shelf for almost the entire process.
Step One: Gather Supplies
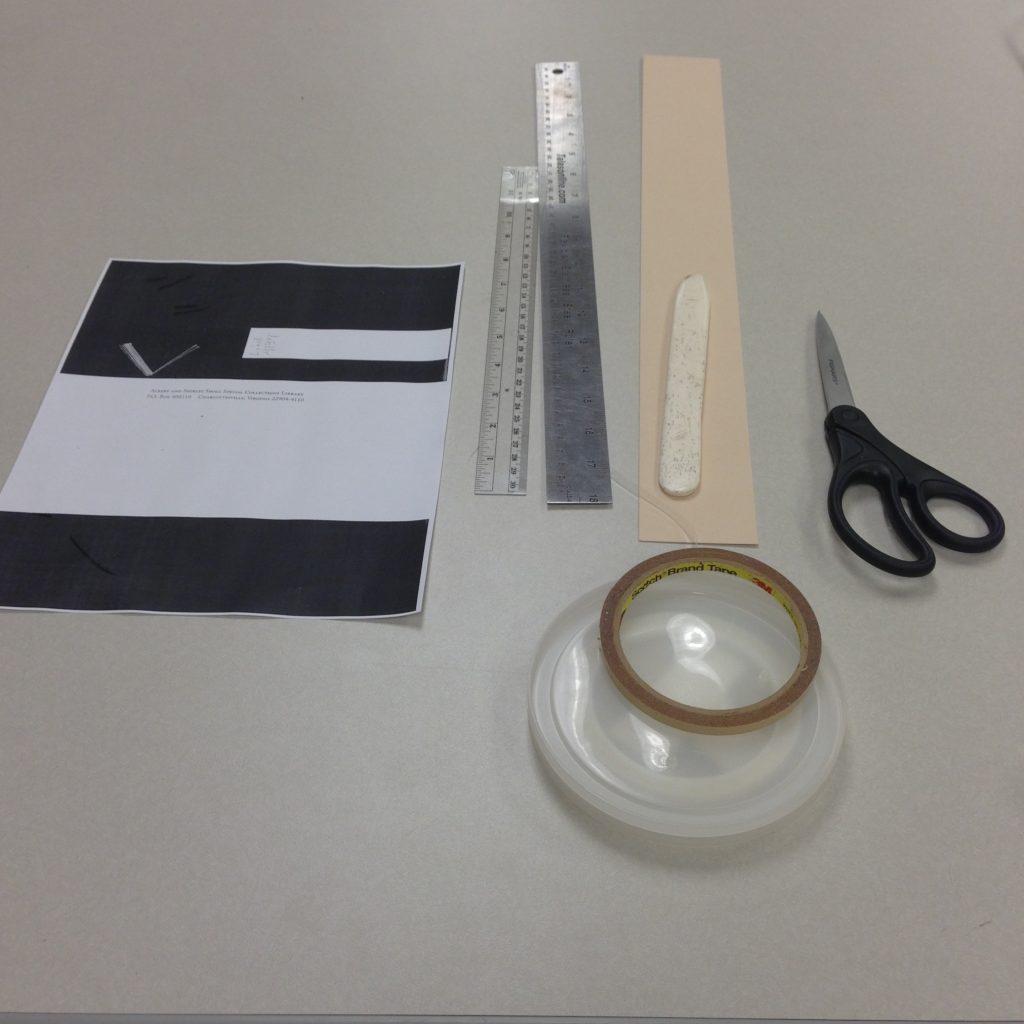
Photo by Molly Schwartzburg
Gather your supplies: rulers, bone folder, scissors, 20-point acid-free board (the weight used to make most collection housings), thin poly strap, narrow double-sided tape, and scissors. You’ll also need a photocopy machine. To get a nice clean cut when you slice your board, I recommend using a board shear, but scissors and a ruler will work in a pinch. Oh, you’ll also need a little book. Please note that these instructions apply only to miniature books, and may not succeed with larger books.
Step Two: Make your Template
Consult with your conservator to determine a safe and healthy opening angle for your book. Hold the book open at this angle, standing upright in your photocopier, so the angle is visible to the camera. Place a straight-edge where the base of the item will be, and photocopy the book. I also included the call tag in my images, since I was photocopying several books at once and didn’t want to get them mixed up.

You’ll end up with an image that looks something like this:
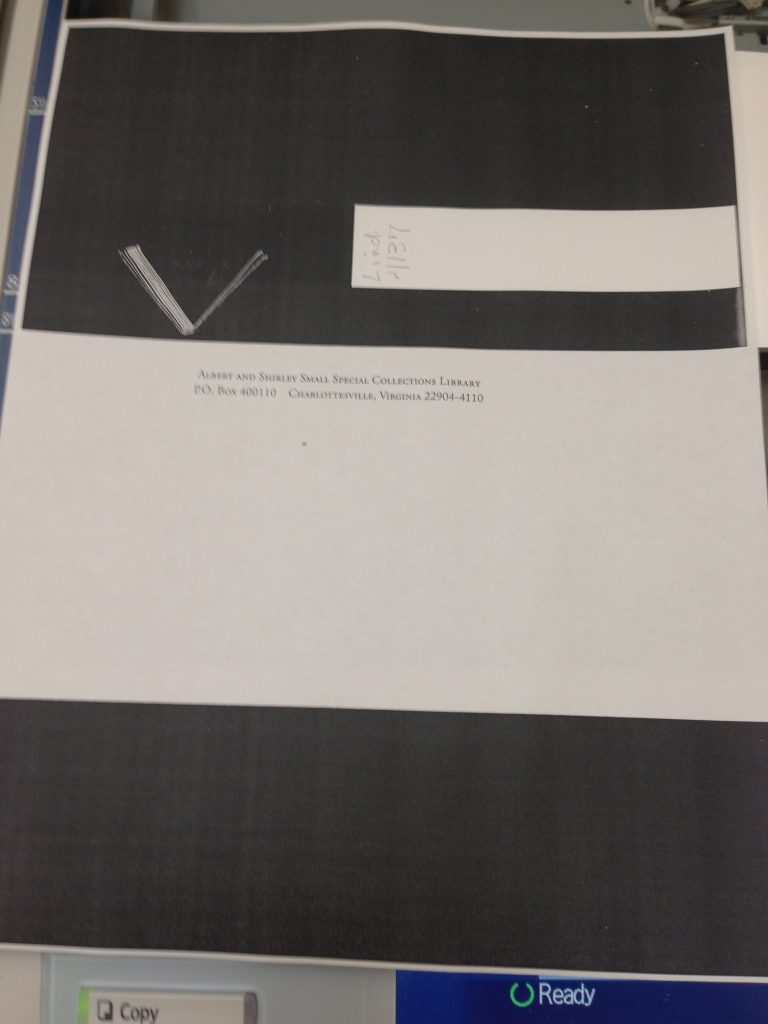
Photo by Molly Schwartzburg
Step Three: Prep your board
Cut a generous strip of board to the exact height of your miniature book. It must be the exact height so you do not place stress on the book’s edge when you strap it to the cradle later in the process. Don’t skimp on length until you know what you’re doing. The shortest of these pieces is plenty long.
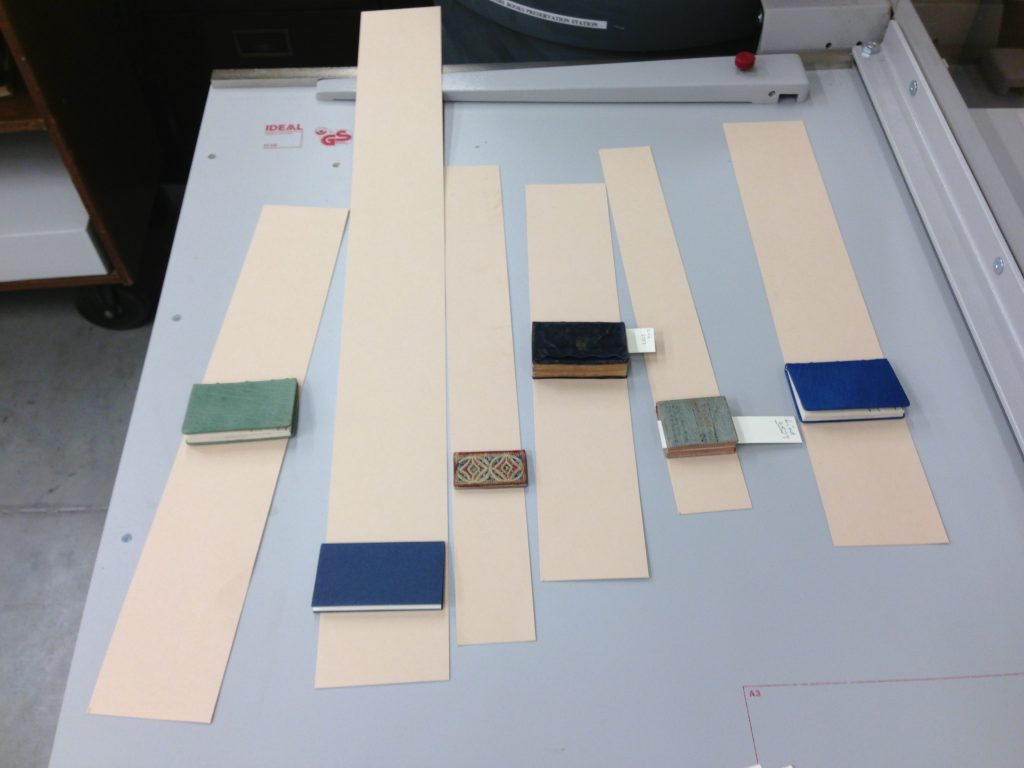
Lots of minis, ready to go. (Photo by Molly Schwartzburg)
Step Four: Make Your Six Folds
OK, now for the fun part. Put your miniature book somewhere safe (the little devils are easy to lose track of!) and clear your workspace. You will now use your photocopy as a template to determine the placement first for the binding to rest, and then for each of the six folds you will create.
Start by marking on either side of the spine–that is, whatever you do not want to rest on an angled surface. Then, use your ruler to mark a line that comes down at a 90-degree angle from just inside the edge of the book’s angled cover. If you line it up with the cover of the book exactly, your cradle will stick out and disrupt the view. Also be sure to keep your lines square with the top and bottom edge of the board. If you do not keep it square at all times, your cradle will be cocked.
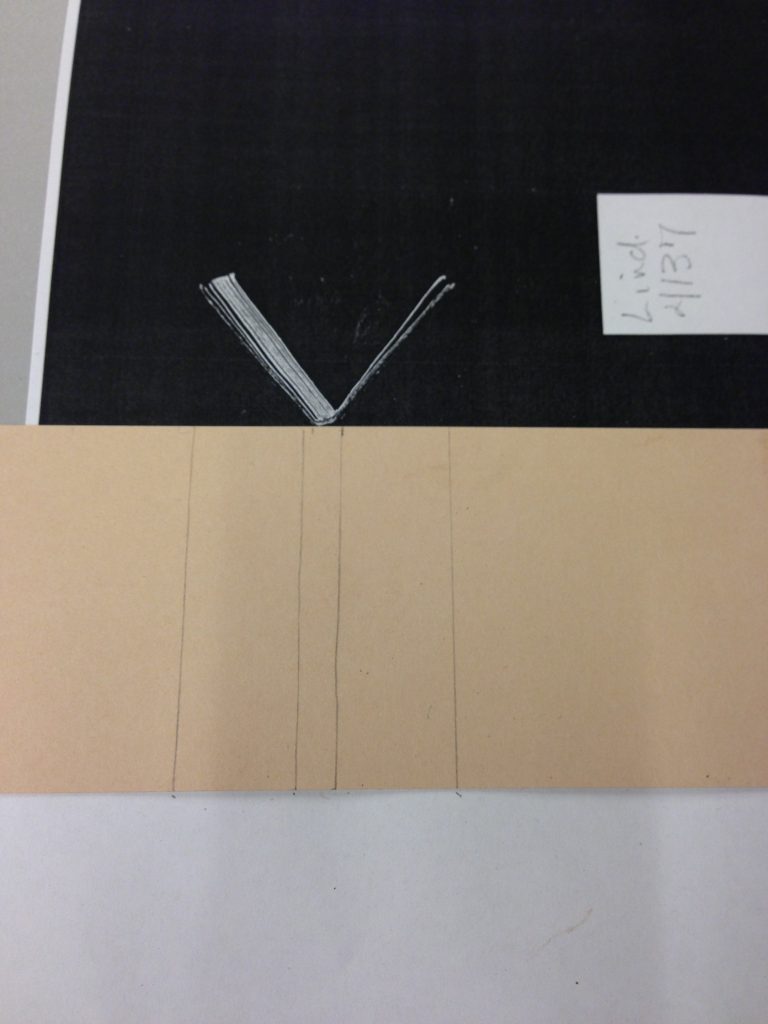
Yes, those wavy lines were made with a ruler. I’m a bit embarrassed, but honesty is the best policy. (Photo by Molly Schwartzburg)
Fold up. I recommend using a heavy metal ruler for a nice solid edge. The board is stiff, so you’ll have to fudge with your lines to get the fold to rest exactly where you want it to (if this doesn’t make sense to you, try it and I think you’ll see what I mean). Folding is not an exact science. Did you remember to keep it squared up?

Don’t let that pesky cork get in the way of an accurate fold! Turn your ruler upside down for the best result. (Photo by Molly Schwartzburg)
Use your bone folder sharpen the edge of your fold.

I don’t know which paper tool I love more: the board shear or the bone folder. (Photo by Molly Schwartzburg)
After you make your first fold, place it over the template to mark the next one, then flatten your paper and mark a fold line, and fold again. Be sure to mark on the inside of your board, since all your marks will fold inward. If this is too difficult, you can mark on the outside and then transfer the mark to the inside.
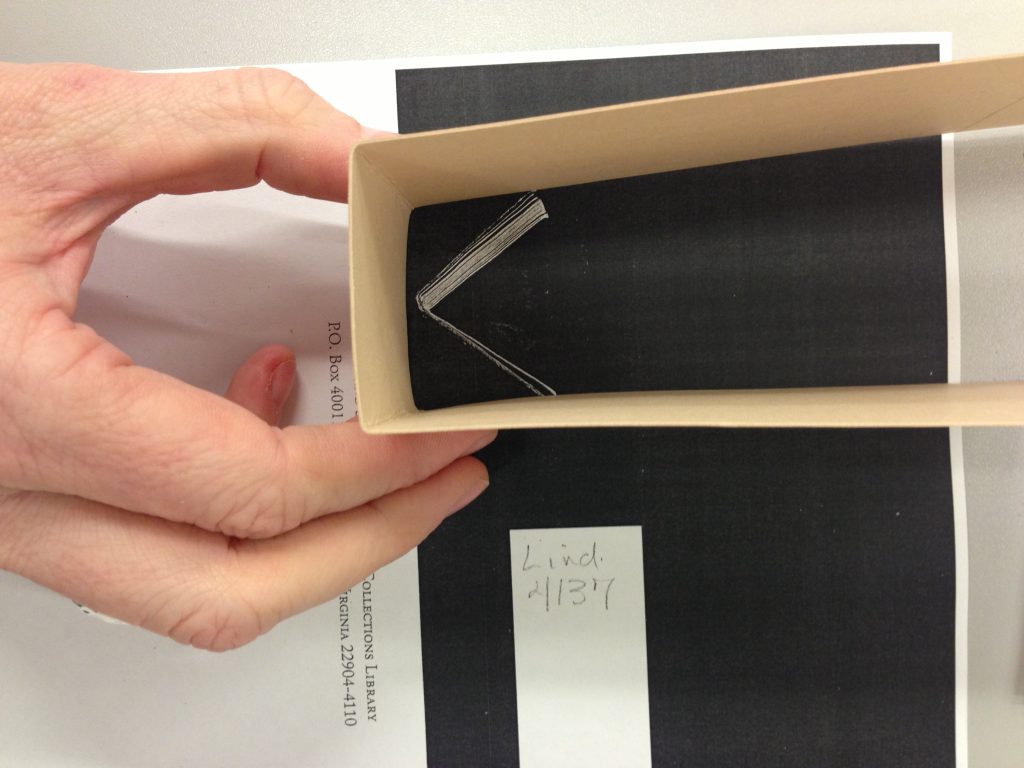
Be sure that this first fold is at a 90-degree angle when you make your mark for the next fold. (Photo by Molly Schwartzburg)
You will make three folds on each side. Return to the first image in the blog post if you need a reminder of your final goal. Don’t try to keep the first or second fold in place as you go–just turn the whole strip of paper around the template image as you work. You will need to trim excess paper off as you prepare to make your final fold. Be careful not to cut off too much–you’ll want a generous piece to tape to the base. Here’s what you’ll end up with.
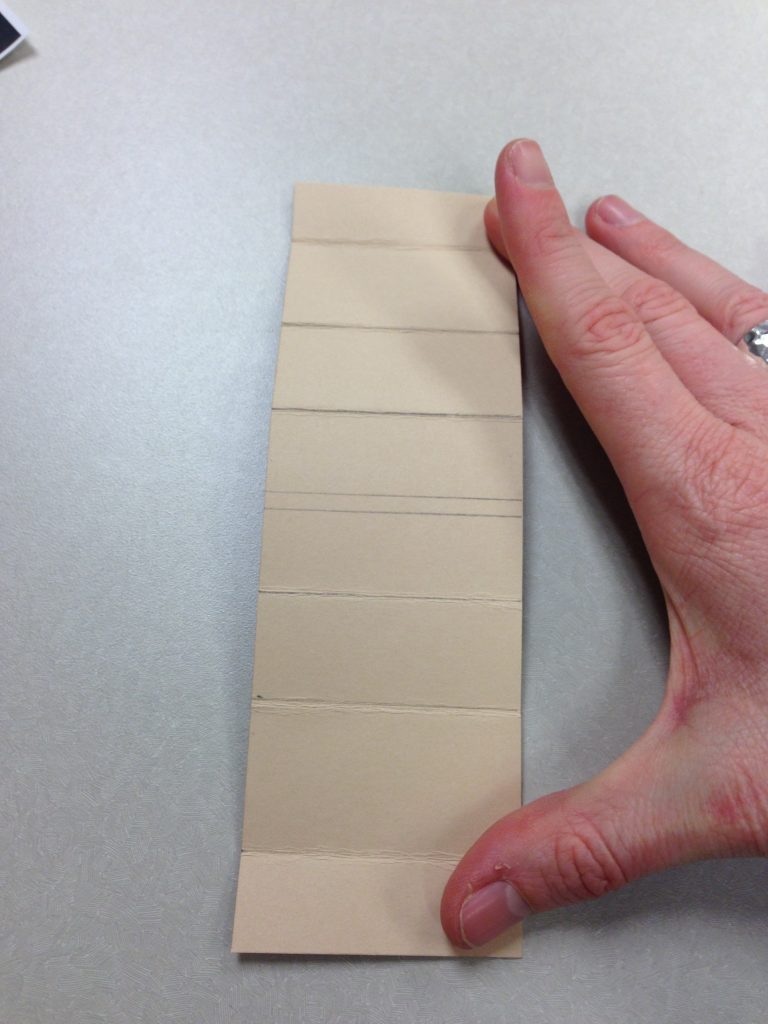
Photo by Molly Schwartzburg
Step Five: Adhere Double-sided Tape
Place a line of tape on each of your final sections, on the outer side of your cradle. Fold in and adhere, being sure that your final fold lines up with your spine markers.
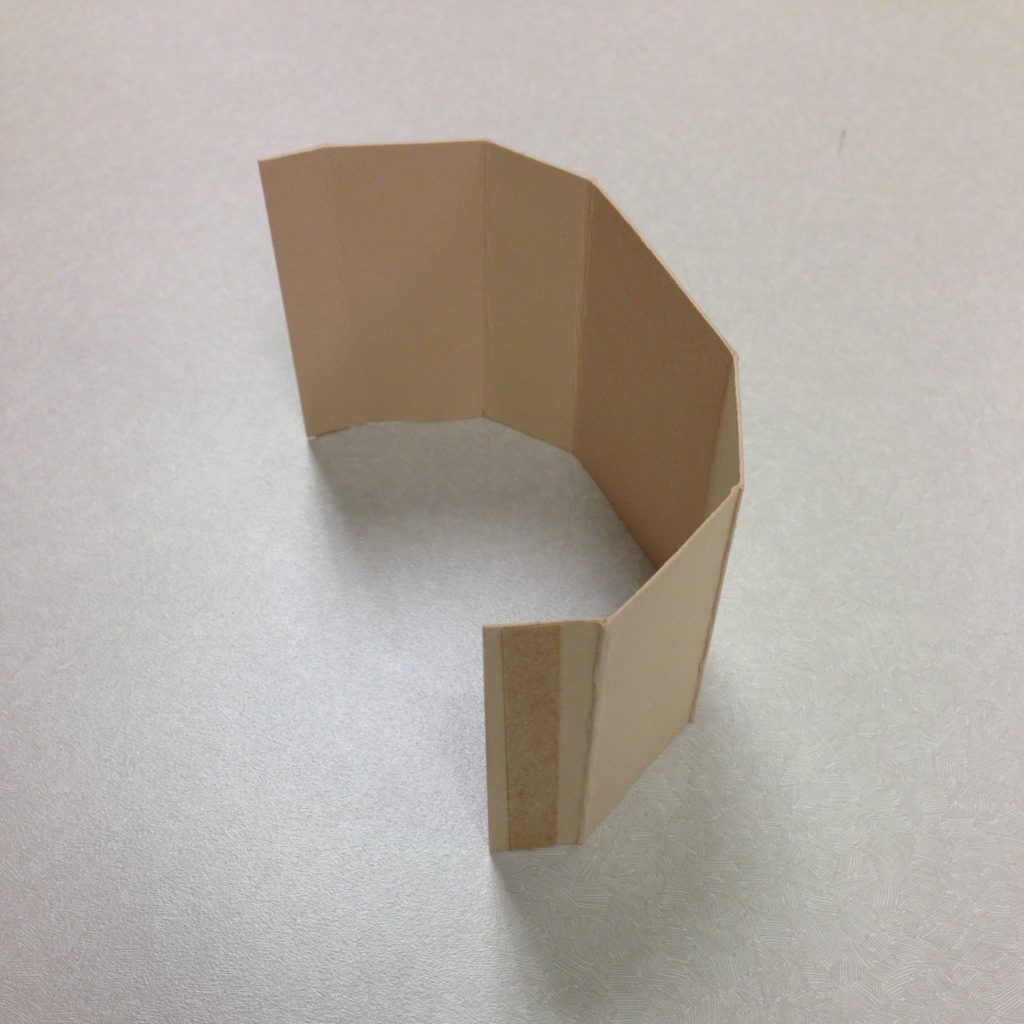
Double-sided tape before final placement. (Photo by Molly Schwartzburg)
The next picture shows what your cradle will look like. Actually, it should look a lot better, as this was my first effort. Overall, this cradle is correctly assembled, but you can see the signs of my inexperience. On the right hand side, I did not achieve a right angle in my first fold, probably because I marked my folds inaccurately. The right side was not adhered squarely either; you can see that the folded section of board is not lined up with the edge of the base. As a result, the entire cradle is slightly cocked. I was less than consistent in my use of the bone folder, so the right-angle fold on the left is not solid. Finally, I made a marking error for my final fold on the left, resulting in an extra fold that had to be flattened out. You should expect to make all these errors and more your first time out!
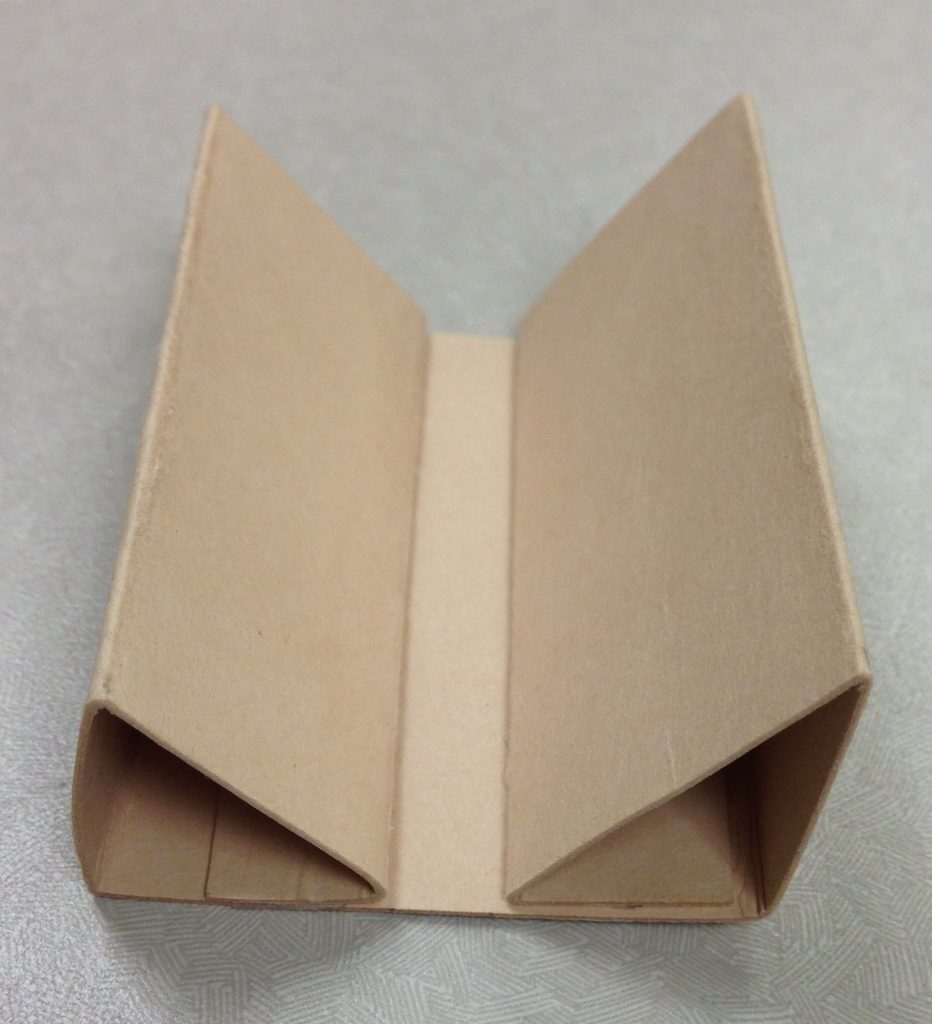
So did I keep this first try for posterity? No way. Into the recycling bin it went. (Photo by Molly Schwartzburg)
Step Six: Strap Your Book
Place your miniature book in its cozy new cradle and strap it in, adhering the strap to the cradle. Most regular books require multiple straps to remain safely in a cradle without putting pressure on the text block, but many miniature books are very lightweight and only require one piece of thin strapping on each side. Use your judgment.
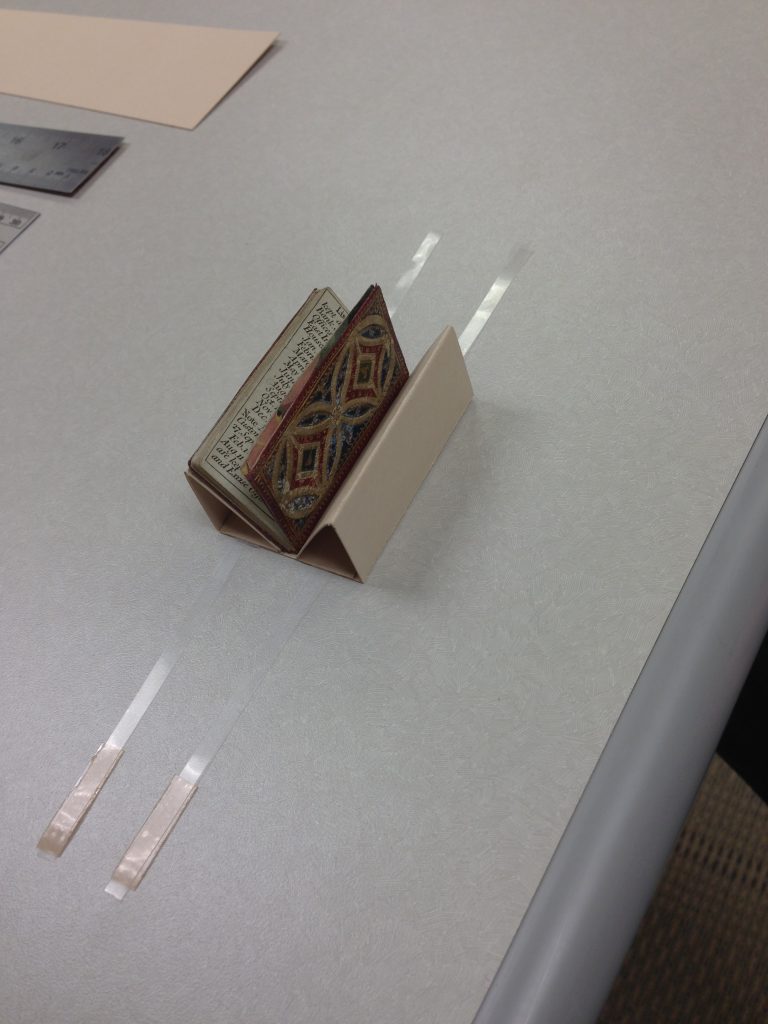
Double-sided tape adheres the strapping to your cradle. If you work in a shared space, be prepared to muffle your curses as you try to make this final step, as your fingers will seem too big and the spaces too small to ever get it all in place. Patience, grasshopper. (Photo by Molly Schwartzburg)
Step Seven: Admire Your Final Product!

This elegant little almanac is ready to go into the exhibition case, accompanied by its original matching carrying sleeve. Squee! (Photo by Molly Schwartzburg)
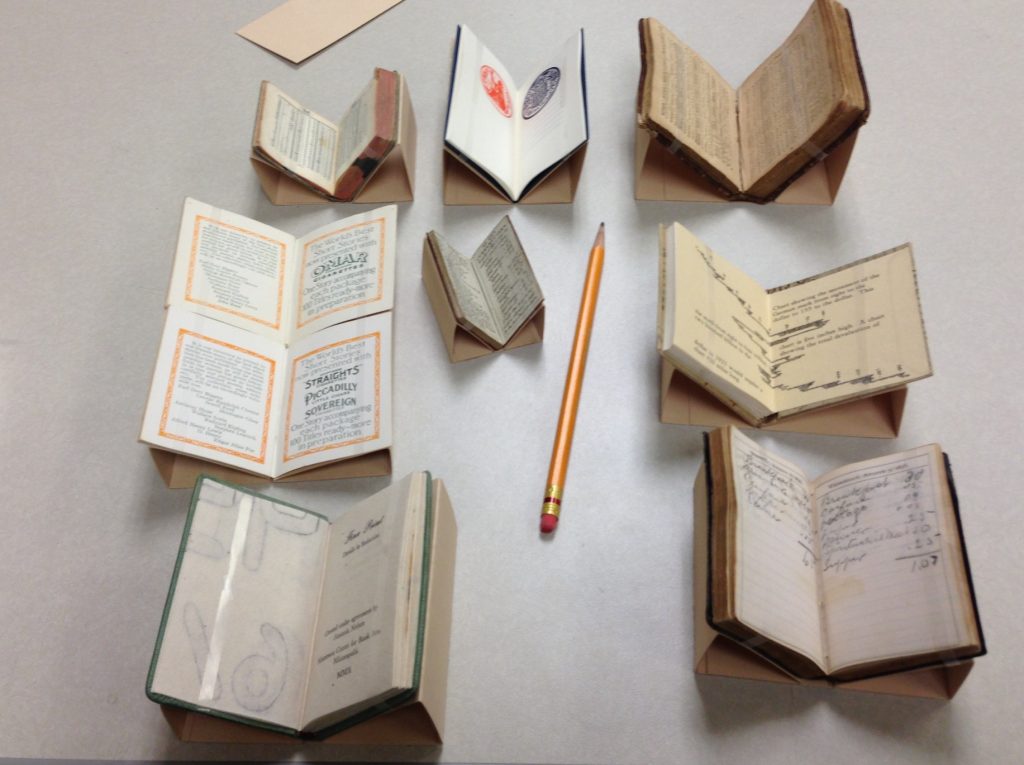
Warning: miniature cradle-making is addictive. (Photo by Molly Schwartzburg)
I hope this little tutorial is useful to you. Please let us know in the comments if you decide to use it for your own projects. Many thanks to Eliza Gilligan for her expert guidance. Now, go forth and fold!
